All products are independently selected by our editors. If you buy something, we may earn an affiliate commission. Learn More >
You dial in your grind, lock in the portafilter, hit the button, and the shot looks off. It gushes, sprays, or just tastes wrong.
I’ve been there more times than I’d like to admit.
The tricky part, most people are dealing with espresso channeling without even realizing it.
Espresso channeling is one of those things that can quietly ruin your coffee without you fully understanding why. Once you understand what’s going on, everything starts to click.
Have I piqued your interest? Let’s get into it.
What Is Espresso Channeling and Why It Ruins Your Shot
Let’s keep this simple and clear.
Espresso channeling occurs when water flows unevenly through the coffee puck, creating fast paths that lead to uneven extraction.
Instead of moving evenly through the entire coffee bed, water finds the easiest route, the path of least resistance, and rushes through certain areas. Other parts barely get touched.
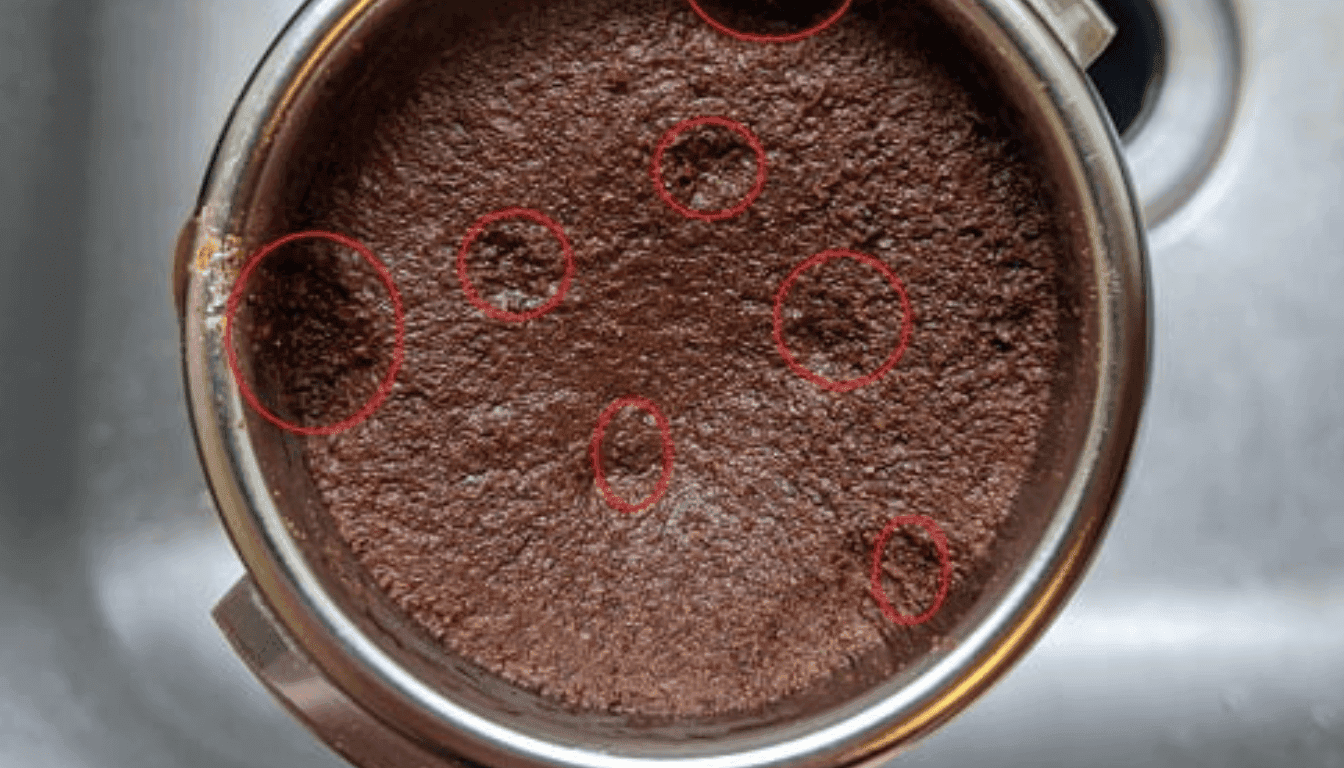
That’s where the problem starts.
You end up with:
- Over-extracted coffee in the channels, bitter and harsh
- Under-extracted coffee in the untouched areas, sour and thin
Put those together, and your espresso tastes slightly off. A bit bitter, a bit sharp, never quite balanced.
So, What Are the Symptoms of Channeling Coffee?
Before you fix anything, you need to spot it. Espresso shot channeling isn’t always easier to spot, sometimes it’s subtle and can leave you scratching your head.
Here’s what I look for when diagnosing a shot coming out of your espresso machine:
- Spraying or spurting, especially with a bottomless portafilter
- Uneven espresso flow, where one side runs faster, is often a clear sign of channeling.
- Fast blonding, the shot turns pale too early
- Thin crema, or crema that fades quickly
- Taste issues, sour, bitter, or hollow
A quick note from experience.
I once pulled a shot that looked great. Smooth flow, decent crema. Tasted it and it was flat and lifeless. Turned out the puck had a weak spot I couldn’t see.
So don’t rely on looks alone. Taste always tells the truth.
Quick Espresso Channeling Diagnosis
If you want a fast way to troubleshoot your shot, this is where to start. Instead of guessing, match what you see and taste to the likely cause.
| Espresso Channeling Symptom | What It Usually Means | What to Fix |
|---|---|---|
| Spraying or spurting | Clumping or poor coffee distribution | Use a WDT tool and improve distribution |
| Fast, thin flow | Grind too coarse or low dose | Adjust grind finer or increase dose |
| Shot starts uneven | Uneven tamp or weak spots in puck | Focus on level tamp and even prep |
| Sour and bitter taste together | Uneven extraction from channeling | Fix distribution and puck consistency |
| Pale blonding too early | Water flowing too quickly through channels | Adjust grind and improve puck prep |
| One-sided flow | Coffee bed uneven or tamp tilted | Rework distribution and tamp evenly |
This is where things really start to click. Once you connect what you see to what caused it, fixing the shot becomes much more straightforward.
Espresso: What Causes Channeling, The Real Reasons Why Most Shots Fail
I find that most guides stop at “uneven puck” and call it a day. But honeslty that’s only part of the story.
Channeling happens because something in your workflow creates weak spots in the coffee bed. Let’s break that down properly.
Poor coffee distribution
This is the biggest culprit.
If the coffee in your portafilter isn’t evenly spread, you’re setting up areas where water can rush through. Even a small mound or gap can turn into a channel under pressure.
A lot of people tap the portafilter and call it done. In reality, that’s rarely enough.
You want the coffee evenly spread across the entire basket before you tamp. Using distribution tools can really help here, and I find they do help prevent channeling in espresso shots.
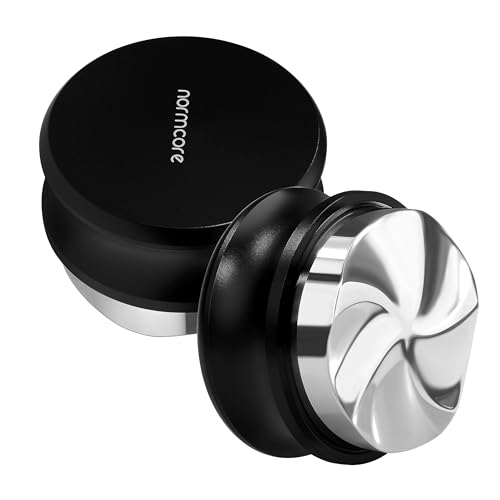
Clumping in coffee grounds
Fresh ground coffee tends to clump, especially with certain grinders.
Those clumps create dense pockets next to empty spaces. Water avoids the dense areas and flows through the gaps instead.
If your shot is spraying, this is often the cause.
Breaking up clumps with a WDT tool (Weiss Distribution Technique) and using a bottomless portafilter makes a bigger difference than most people expect in identifying channeling issues.
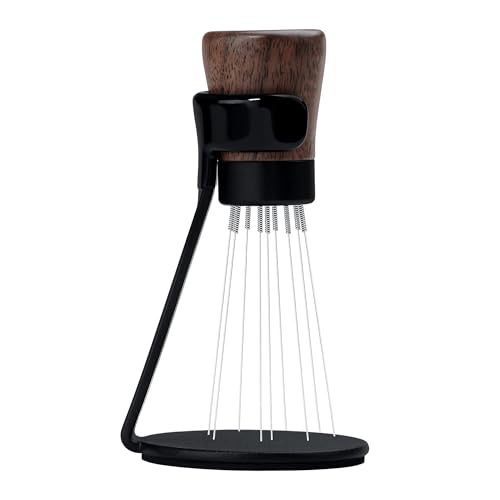
Inconsistent grind size
Not all grinders produce uniform particles.
When your grind size is uneven, some parts of the puck slow the water down while others speed it up. That imbalance creates pressure differences, which leads to channeling.
You might think your grind is “fine enough,” but the real issue is consistency, not just size.
Uneven tamping
A slightly tilted tamp is all it takes.
If one side of the puck is denser than the other, water will always favor the weaker side. That’s when you see espresso flowing unevenly from the start.
This is one of those small details in the distribution of coffee that has a big impact.
Dose and headspace problems
Your basket is designed for a specific range.
Too little coffee and the puck doesn’t offer enough resistance. Water flows too easily and finds weak spots.
Too much coffee and the puck can press against the shower screen, leading to cracks as pressure builds.
Both situations can lead to channeling.
Stale coffee beans
This one gets overlooked.
Fresh coffee has structure. It holds together under pressure and allows for even extraction.
Stale beans break apart more easily. The puck becomes fragile, and water starts carving paths through it.
If your shots suddenly get worse without changing anything else, your beans might be the reason.

Volcanica Coffee Lover Gift Box
The perfect gift box for the average avid coffee drinker, this gift box includes the best-selling products all in one package. Explore the taste of favorite coffees from around the world from the comfort of home.
How to Spot Channeling While Pulling an Espresso Shot
If you want to improve quickly, start paying attention to the first few seconds of your shot.
That’s where most channeling reveals itself.
When I’m pulling a shot, I’m watching for three things.
1. How the shot starts
A good shot doesn’t rush.
You should see a slow buildup, then droplets forming evenly across the bottom of the basket before they join into a stream.
If the espresso starts shooting out from one spot right away, that’s a weak point in the puck.
2. The flow pattern
Once the shot gets going, the flow should be centered and consistent.
If it splits, sprays, or runs heavily on one side, channeling is happening.
This is where a bottomless portafilter really helps. You can see exactly how the espresso flows through the puck.
3. Changes during the shot
Watch how the flow evolves.
A stable shot keeps a steady, syrupy stream. If it suddenly speeds up, turns pale early, or loses structure, that usually means water has broken through a weak area.
That’s channeling mid-extraction.
One thing I always tell people, don’t judge a shot by crema alone. I’ve seen beautiful crema on shots that tasted terrible. The flow tells you more than the surface ever will.
Espresso Channeling Fix, Step-by-Step Workflow That Actually Works
You don’t need a complicated routine. You just need a consistent one – consistency is the name of the game when it comes to pulling a shot of espresso.
This is the process I use when I want to fix channeling espresso and get back to a clean extraction.
Step 1: Fix Your Coffee Distribution First
This is the biggest win.
After grinding, don’t rush straight to tamping. Take a few seconds to distribute the coffee evenly.
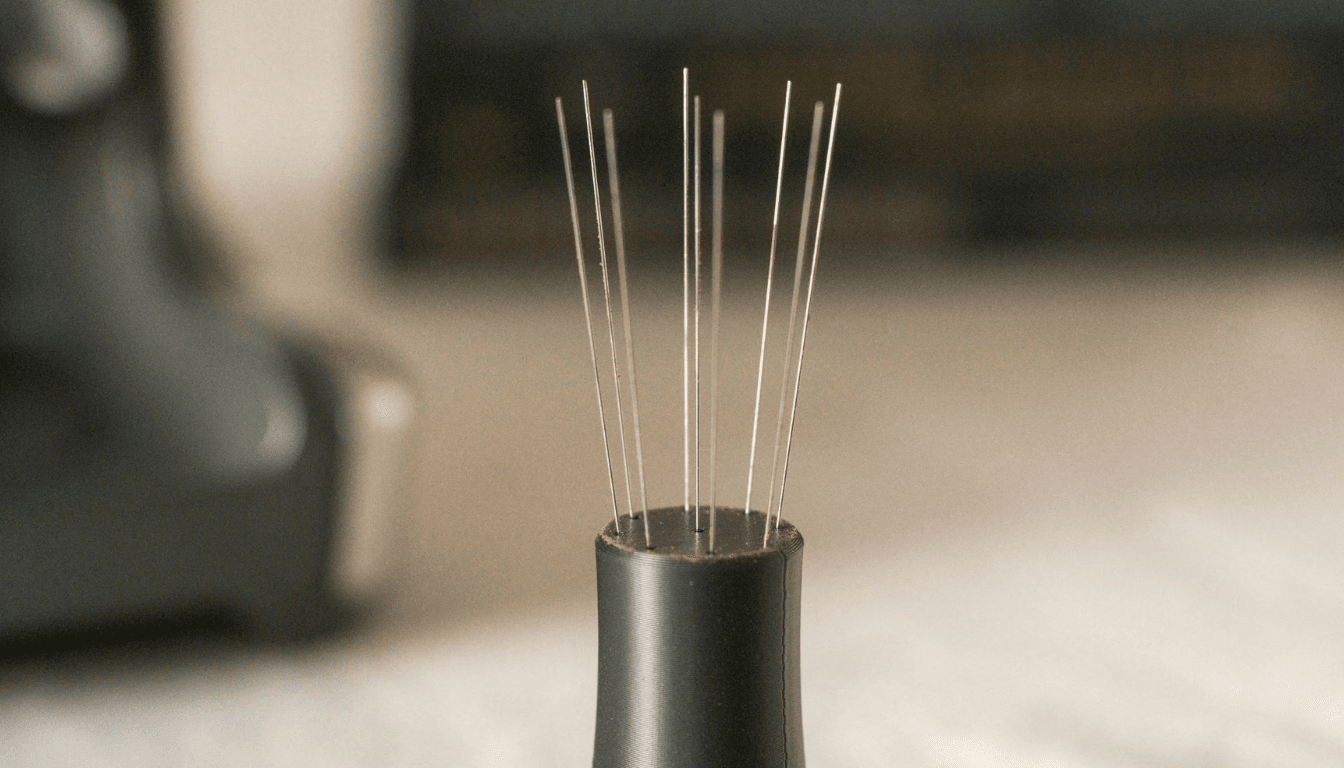
I use a WDT tool to break up clumps and spread the coffee across the entire basket. You want an even coffee bed with no gaps or mounds.
A WDT tool reduces clumping and helps water flow evenly through the coffee.


Step 2: Dial In Your Grind Size
Grind size controls how water moves through the puck.
Too coarse and the water rushes through weak spots, which is a sign of channeling. Too fine and pressure builds unevenly.
Make small adjustments and watch the flow. Taste every shot.
You’re aiming for balance, not just hitting a time.
Step 3: Improve Your Tamping Consistency
Forget chasing perfect pressure.
Focus on:
- A level tamp
- Even pressure
- A smooth surface
If your tamp is uneven, water flow will be uneven.
Keep it simple and repeatable.

Step 4: Check Your Dose and Basket Fit
Your basket has a sweet spot.
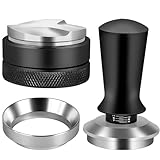
Too much coffee and the puck gets compressed and cracks. Too little and water flows too easily.
You want a small gap between the puck and the shower screen so water can spread evenly before extraction begins.
How to Stop Channeling Espresso Before It Starts
Once you’ve fixed channeling, the real goal is to stop it creeping back in. That comes down to building a simple, repeatable routine you can rely on every time you make espresso.
Start with your puck prep. Do the same steps in the same order, grind, distribute, tamp. No shortcuts. Consistency is what removes variables, and fewer variables mean fewer problems showing up in your shot.
If there’s one thing worth slowing down for, it’s coffee distribution. Take a few extra seconds to break up clumps and level out the coffee bed before tamping.
You want the coffee evenly spread across the entire portafilter basket. This alone can reduce channeling more than most gear upgrades.
Fresh coffee also plays a bigger role than people think. Beans change as they age, and even small shifts in humidity can affect how your espresso extracts.
Don’t assume yesterday’s grind setting will hold up today. Taste your shots, make small adjustments, and stay in tune with what the coffee is doing.
It’s also worth keeping your equipment clean. Old coffee oils and residue can interfere with water flow and make your results less predictable.
A clean basket and portafilter help keep everything consistent, even if it’s not the most exciting part of the process.
And finally, slow things down. Most channeling issues come from rushing. You skip proper distribution, rush the tamp, or don’t pay attention to how the shot starts.
Those small shortcuts add up quickly.
Take an extra few seconds, and you’ll notice the difference almost immediately in both flow and taste.
Tools That Help Reduce Channeling (And What Actually Matters)
There’s a lot of gear out there, but only a few things actually help.
A bottomless portafilter shows you exactly how your espresso flows. It helps you spot channeling instantly.
Using a distribution tool, also known in the industry as a WDT tool, reduces clumping and improves coffee distribution, which leads to a more even extraction.
Distribution tools can help level the coffee bed, but they won’t fix poor prep.
Your technique matters more than your tools every time.
So, Why Do Even Experienced Baristas Still Get Channeling?
Even after years of making espresso, channeling still happens.
Coffee changes day to day. Beans age. Humidity shifts. One day your espresso tastes spot on. The next day it’s slightly off, even with the same settings.
That’s normal.
Good espresso isn’t about locking in one perfect setup. It’s about adjusting and staying consistent with your process.
The One Habit That Will Improve Your Espresso Extraction Overnight
If you want better espresso, focus here.
Slow down your puck prep.
Take a few extra seconds to distribute the coffee properly, tamp evenly, and watch your shot as it pulls.
That’s how you avoid channeling.
Clean up those small details and your espresso improves fast. You’ll see smoother flow, better balance, and shots that actually taste the way they should.
Final Thoughts
Espresso channeling can feel frustrating when everything looks right but the shot still tastes off.
I’ve been there, and it usually comes down to small details being rushed.
Once you understand how water moves through the coffee puck, things get much easier. You stop guessing and start making better decisions.
Focus on even coffee distribution, consistent tamping, and watching your extraction closely.
Do that, and you’ll spend less time fixing bad shots and a lot more time enjoying genuinely good espresso.