All products are independently selected by our editors. If you buy something, we may earn an affiliate commission. Learn More >
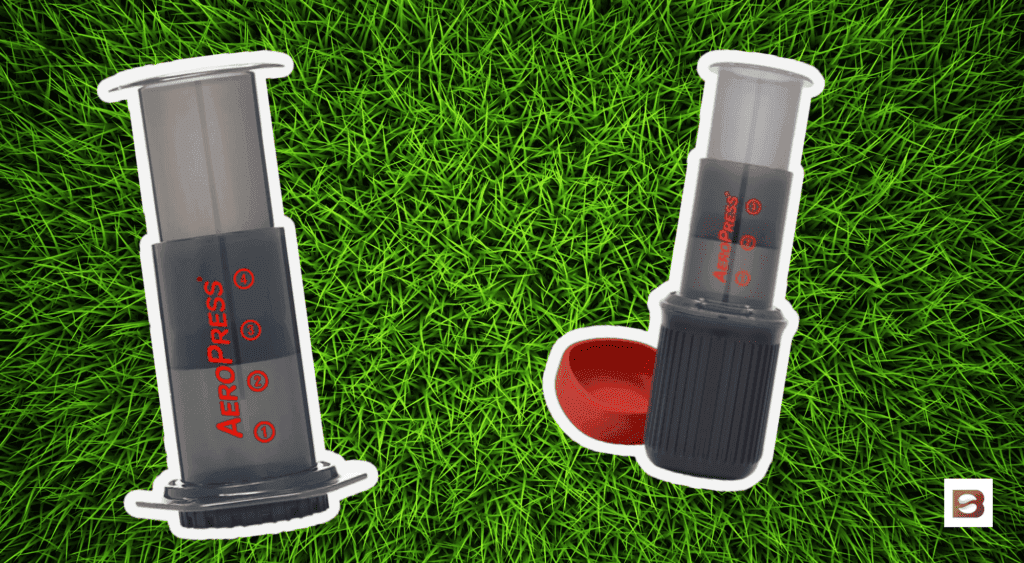
If you’ve spent any time with the AeroPress coffee maker, you already know how versatile this little brewer can be.
From quick travel brews to recipes worthy of the World AeroPress Championship, it’s one of the most flexible ways of brewing coffee at home.
But one debate never seems to end: should you brew with the AeroPress using the regular method or flip the AeroPress upside-down and use the inverted method?
Both have loyal fans, and both can produce great coffee, but the brewing process isn’t the same.
Before we dive into pros and cons, let’s break down what each method actually looks like, starting with the regular AeroPress method.
What Is the Regular AeroPress Method?
The regular AeroPress method is the one Alan Adler, the inventor of the AeroPress, originally designed. It’s the upright method printed in the instructions that come with every AeroPress coffee maker.
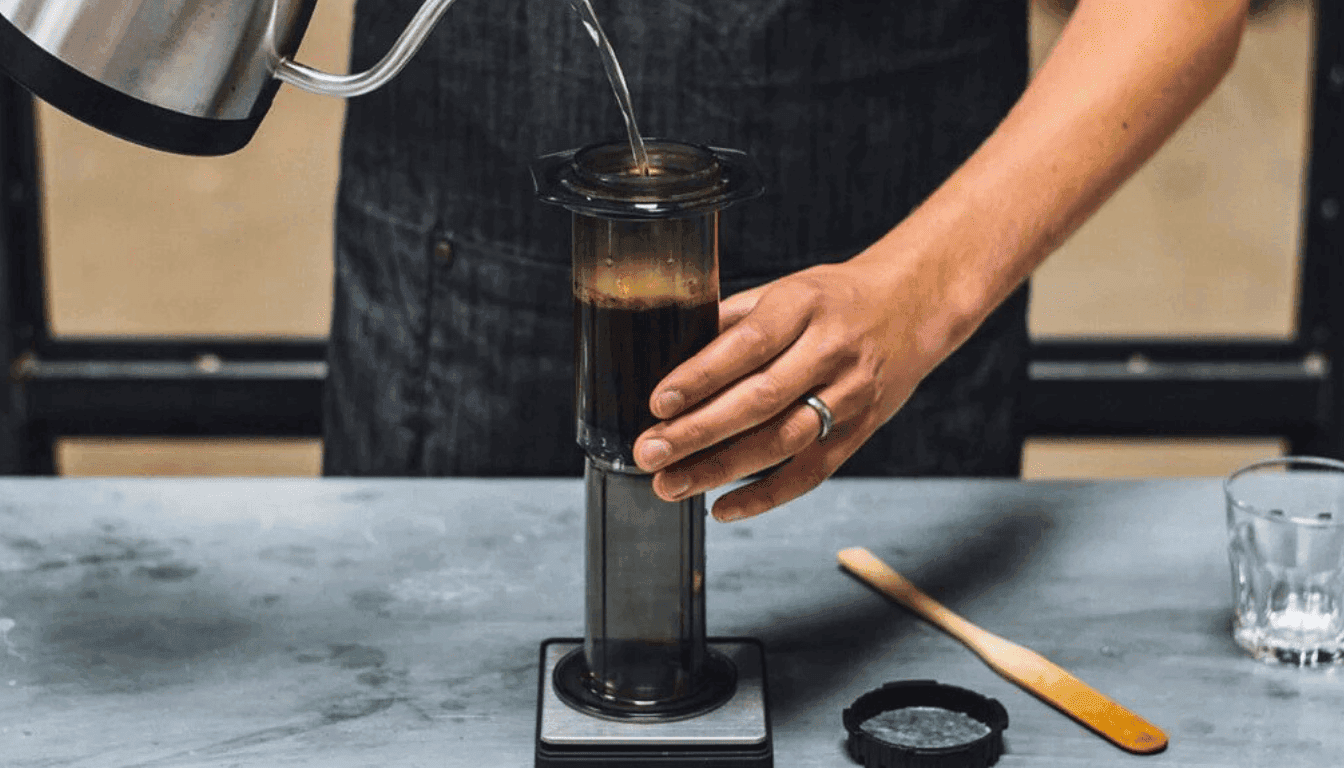
You place the AeroPress on top of your mug, add ground coffee into the brewing chamber, pour hot water through the coffee, and then plunge it down with steady pressure.
It’s simple, quick, and one of the easiest ways to make a cup of AeroPress coffee.
Pros and Cons of the Regular Method
The regular AeroPress method is the upright way of brewing coffee, and it’s the most straightforward for beginners.
It’s the technique Alan Adler intended when he first designed the AeroPress coffee maker, and it still works beautifully today.
What I Love
- Beginner-friendly. Place the AeroPress on your mug, add ground coffee and water, then plunge. There’s less chance of spills compared to flipping the AeroPress upside-down.
- Self-filtering layer. The coffee grounds sit at the bottom, helping create a natural filter before the paper filter catches the finer particles. This can improve clarity in your cup.
- Stable setup. Since the brewer stays upright on your mug, it feels steady and secure during the preparation process.
Take Note
- Premature drip. Water starts passing through the filter almost immediately, which means you lose some control over steep time.
- Under-extraction risk. Because the water drips too quickly, the coffee may taste weak or sour if you don’t adjust grind size and steep time carefully.
- Less flexibility. Compared to the inverted method, it’s harder to experiment with longer steeps or immersion brewing, making the traditional method less flexible.

What Is the Inverted AeroPress Method?
The inverted AeroPress method flips the traditional preparation process on its head, literally.
Instead of placing the AeroPress on your mug, you set it upside-down with the plunger pushed in just enough to form a seal. The brewing chamber sits on top, open, ready for your ground coffee and hot water.
By using the inverted method, you create a full immersion coffee. The coffee grounds and water steep together for as long as you want without dripping through the paper filter at the bottom.
When your steep time is up, you carefully flip the AeroPress onto your mug, attach the filter cap, and plunge.
Many coffee fans love this approach because it offers:
- Greater control over steep time and ratios.
- A chance for more oils and flavor compounds to make it into the cup.
- A style of brewing that feels closer to a French press but with a cleaner finish.
The inverted AeroPress method started as a home-brewer hack, but it quickly spread through the speciality coffee world.
Today, it’s a go-to technique in AeroPress recipes shared online and even features in experiments by World AeroPress Championship competitors.
Pros and Cons of the Inverted Method
The inverted one is all about control. By flipping the AeroPress upside-down, you get full immersion brewing and more flexibility with your recipe.
That said, it’s not without a few headaches.
What I Love
- Control over steep time. Since water doesn’t drip through the paper filter, you can let the coffee and water steep as long as you want.
- Full immersion brewing. Grounds and water stay in contact, giving you a richer, more balanced cup of AeroPress coffee.
- Cleaner plunge. Fewer coffee grounds get stuck on the plunger, making cleanup easier.
- Experiment-friendly. Great for testing different AeroPress recipes, grind sizes, and different steep times.
Take Note
- Risk of spills. Accidents happen when you flip the AeroPress onto your mug. One wrong move and you’ve got coffee everywhere.
- Less stable. The upside-down position can feel wobbly, especially if you’re new to using the AeroPress inverted.
- Grounds on the wall. After flipping, some coffee grounds may stick to the inside of the brewing chamber.
AeroPress Inverted vs Normal: Key Differences
Now that we’ve covered the pros and cons of each brewing method, let’s put them head to head. Both make great coffee, but the process and results aren’t the same.
| Feature | Regular AeroPress Method | Inverted AeroPress Method |
|---|---|---|
| Setup | Upright on your mug, stable and secure | Upside-down, less stable but more flexible |
| Steep Time | Limited, water drips through quickly | Full control, no drip until you flip the AeroPress |
| Brew Style | Closer to a drip-style extraction | True full immersion brewing |
| Flavor Profile | Clean and bright, but can be under-extracted | Richer body, more oils, deeper flavor |
| Ease of Use | Beginner-friendly, less risk of spills | Trickier, accidents can lead to coffee everywhere |
| Cleanup | Grounds collect at the bottom | Grounds stick less to the plunger, easier cleanup |
| Best For | New AeroPress users, quick brews | Experimenters who want more control over the coffee prep |
When it comes to AeroPress inverted vs regular, it’s less about which is “better” and more about what fits your style of brewing coffee.
If you value stability and simplicity, the upright method wins. If you want to fine-tune brew time and experiment with recipes, the inverted method gives you that freedom.
Tips to Improve Your Brew
Whether you stick with the regular AeroPress method or use the inverted method, a few tweaks can take your coffee from good to great.
These ideas come straight from speciality coffee circles and are even used by a world AeroPress champion on the World AeroPress Championship stage.
- Dial in your grind size. A medium-fine grind is a good starting point, but don’t be afraid to experiment. Too fine and you’ll struggle to plunge, too coarse and the coffee may taste weak.
- Control your brew time. With the upright method, time is shorter since water drips through the paper filter. With the inverted method, you can extend steep time for a fuller cup.
- Use two filters. Adding an extra paper filter in the filter cap helps reduce sediment and makes your AeroPress coffee cleaner.
- Try a flow control filter cap. This accessory keeps water from dripping through too soon, making the upright method feel more like full immersion brewing.
- Experiment with the Prismo. The Prismo attachment replaces the paper filter with a pressure-actuated valve, allowing you to brew espresso-style AeroPress recipes.
- Go bigger with the AeroPress XL. If you want to make a larger cup, the new AeroPress XL has a larger brewing chamber but keeps the same process.
- Study AeroPress recipes. Each year, competitors at the World AeroPress Championship share new method tweaks, ratios, and recipes that push this brewer to its limits. Many winning recipes use the inverted AeroPress method, but you’ll also see creative spins on the regular AeroPress method too.
AeroPress coffee is about flexibility. The recipe you use, the way you plunge, and even the accessories you add can all change the final taste.
Don’t be afraid to experiment until you find your favorite way to make AeroPress coffee.
Final Thoughts
When it comes to AeroPress inverted vs normal, there’s no single right answer. Both brewing methods can make great coffee, and both have their place in your daily routine.
Personally, I lean toward the inverted AeroPress method because I enjoy having more control over steep time and ratios. It feels closer to full immersion brewing, and I like the extra body it brings to the cup.
But I still use the regular AeroPress method when I want a quick, clean coffee without worrying about spills.
At the end of the day, the best way of brewing coffee with the AeroPress is the one that fits your taste and your lifestyle. Play around with grind size, brew time, and even accessories like the Prismo or flow control filter cap.
That’s the fun of using the AeroPress coffee maker – you can brew a cup your way.
So, which side are you on? Regular AeroPress method or inverted AeroPress method? Try both, experiment with a few AeroPress recipes, and see where your palate takes you.