All products are independently selected by our editors. If you buy something, we may earn an affiliate commission. Learn More >
If you’ve ever pulled a shot that tasted like battery acid or weak dishwater, you already know the problem. The coffee beans were probably fine. The machine was probably fine.
What was off was the dial – the set of variables that turn a bag of beans into a proper espresso.
Learning how to dial in espresso is the single most important skill any home barista or aspiring specialty coffee enthusiast can pick up.
It’s not about having the most expensive grinder or espresso machine. It’s about understanding what the shot is telling you and knowing which knob to turn next.
I’ve been making espresso professionally for more than two decades.
In this guide, I’ll walk you through the dialing in process step by step. So if you want your shot of espresso to taste like it was pulled by a seasoned barista, keep on reading.
What Does ‘Dialing In’ Actually Mean?
Dialing in espresso simply means adjusting your variables – primarily grind size, dose, and yield – until your shot tastes the way it should. Think of it as calibration.
The beans change, the humidity changes, the grinder burrs wear down over time. The dial is never permanently set.
Every new bag of coffee means you start the dialing in process again.
Even the same beans from the same roaster will taste different a week off-roast versus three weeks off-roast. So with so many variables constantly changing, espresso dialing in isn’t a one-time task. It’s an ongoing practice.
That might sound tedious. It isn’t – once you understand what to look for, the whole thing takes a few shots to nail.
The Four Variables That Affect the Taste of Every Shot
Before you touch a thing on your espresso machine and grinder, you need to understand what you’re actually working with. There are four variables in play.
Grind size is your biggest lever. A finer grind slows the flow, increases extraction, and intensifies flavour. A coarser grind does the opposite.
When you’re dialing in an espresso, grind size is always the first thing you adjust.
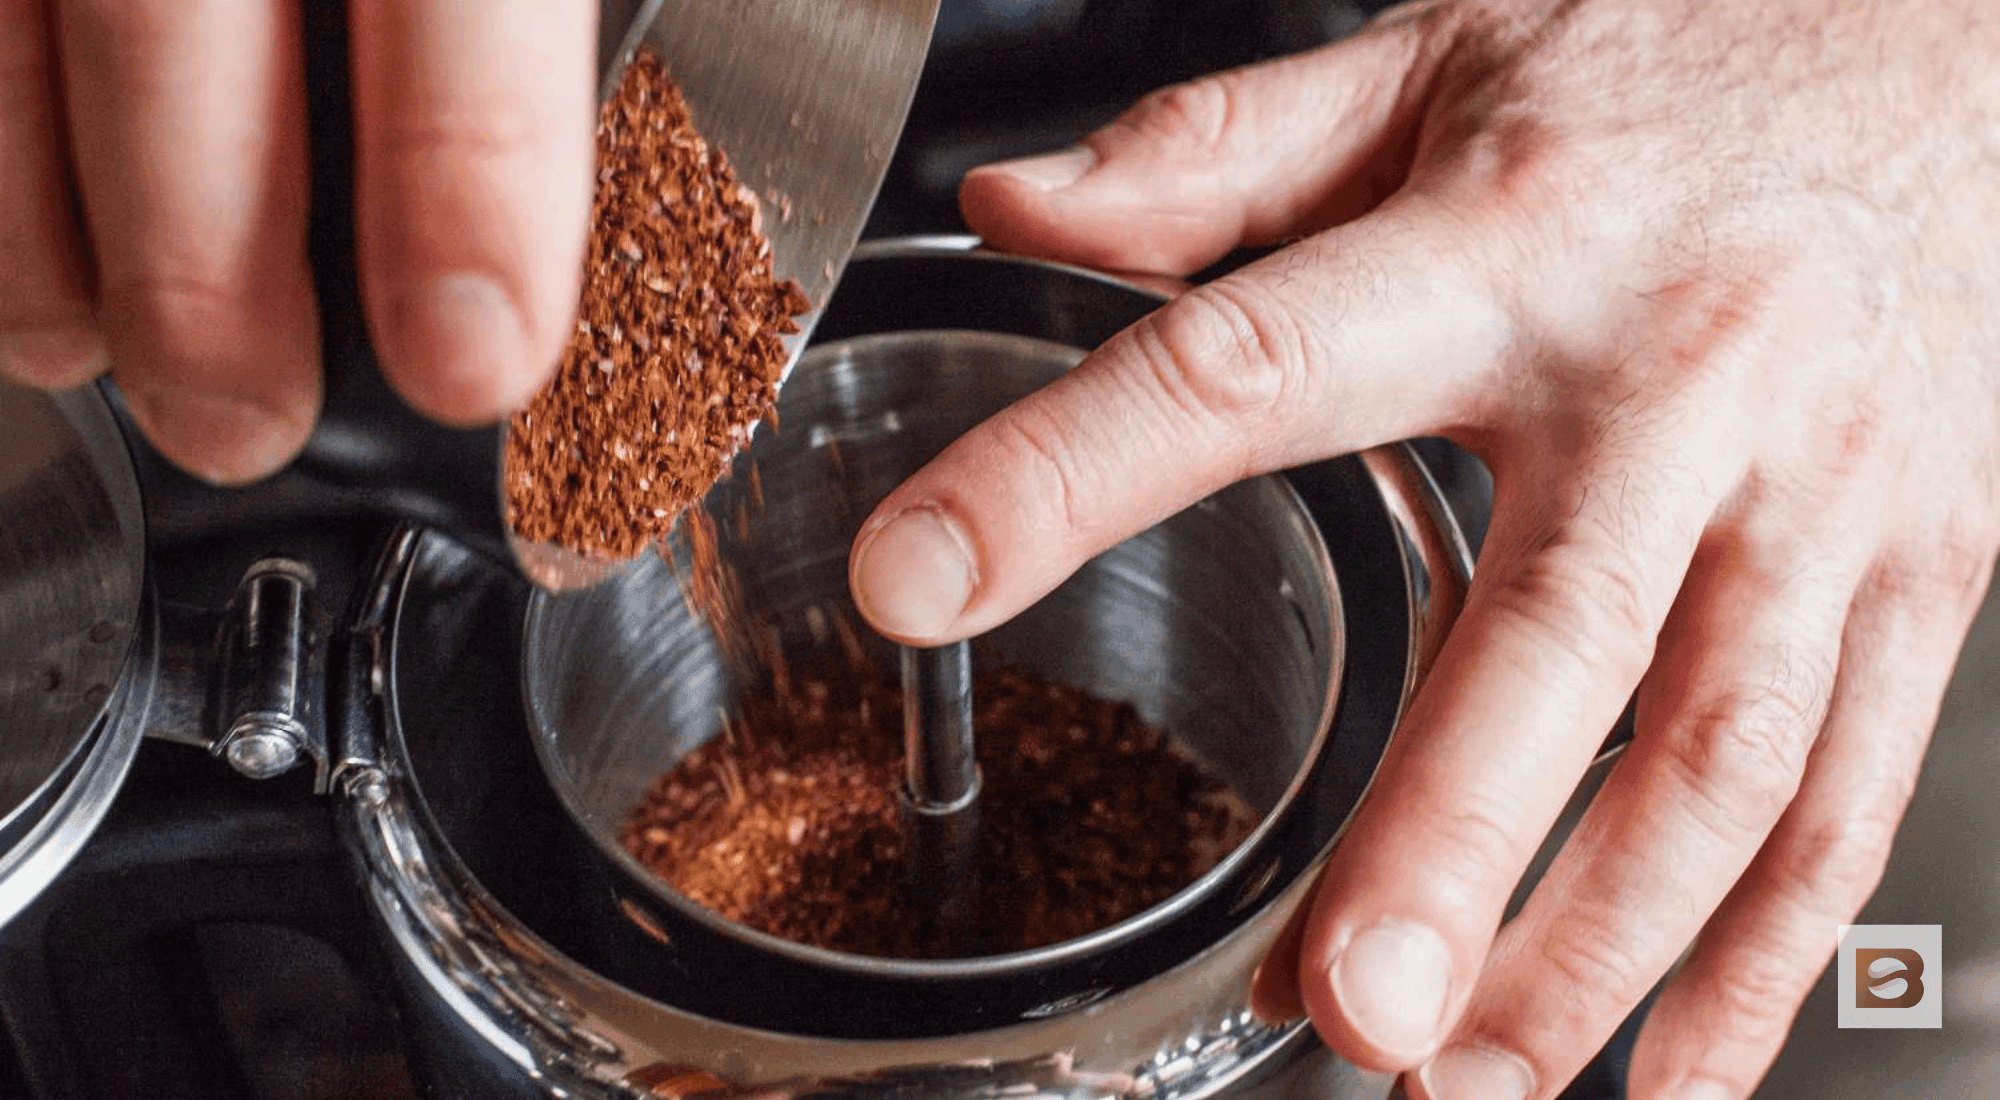
Dose is the amount of ground coffee you put into the portafilter, measured in grams. Most double baskets take between 17g and 19g. Your dose sets the bed of coffee the water pushes through.
Yield is how much liquid espresso ends up in your cup, also measured in grams. The ratio of coffee dose to espresso yield – say 18g in to 36g out – is your brew ratio. This is your recipe.
Shot time is the result of your other decisions, not a variable you control directly. If your shot runs in 18 seconds, something is off – likely grind size or the amount of coffee.
A well-dialed shot typically runs between 25 and 30 seconds, but I’d encourage you to focus on taste rather than obsessing over the clock.

Start Here: Your Baseline Espresso Recipe
You need an anchor before you start making adjustments. Without a starting point, you’re just guessing. Here’s the espresso recipe I recommend for beginners and experienced home baristas alike.
Set your dose to 18g of ground coffee. Target a yield of 36g of liquid espresso. That’s a 1:2 ratio – your desired espresso yield is double your coffee dose.
Aim for a shot time of around 27 seconds for better espresso. This is your baseline. Everything else flows from here.
Always weigh your coffee. Going by eye means you’re introducing a variable you can’t control. A basic kitchen scale accurate to 0.1g will transform your espresso making.


The Step-by-Step Guide to Dialing In Espresso
Here’s where the actual dialing in process begins. Follow these steps in order and change only one thing at a time. If you adjust your grind size and your dose simultaneously, you won’t know which change fixed the problem.
Step 1: Lock In Your Dose
Weigh 18g of coffee grounds into your portafilter.
Do this consistently for every shot until you’ve finished dialing in. Changing the coffee dose mid-session muddies your results. Once you’ve found your ideal grind and taste, you can experiment with dose.
Step 2: Set Your Grind Size Using Shot Time
Pull your first shot and time it from the moment water starts flowing to when you stop the brew.
If the shot runs faster than 20 seconds, your espresso grind size is too coarse – grind finer. If it runs longer than 35 seconds, go coarser.
Make small adjustments.
On most grinders, one or two notches is enough. Taste the shot regardless of the time – your palate is the best instrument you have.
Step 3: Taste the Espresso and Adjust Your Yield
Once your shot time is roughly in range, taste the espresso. Ignore how it looks for now. What does it tell you?
If it tastes sour or sharp, it’s under-extracted.
Either grind finer or extend your espresso yield slightly – say from 36g to 40g. This gives the water more time to extract soluble flavours.
If it tastes bitter or ashy, it’s over-extracted. Go a little coarser, or reduce your yield.
A well-extracted espresso should be balanced – sweet, slightly fruity or chocolatey depending on the bean, with a clean finish and good body.
That’s what you’re chasing for the perfect espresso. When your shot tastes right, you’re done.
Step 4: Fine-Tune and Lock It In
Pull two or three more shots at your adjusted grind setting to confirm consistency. If the taste holds, note your grind setting, dose, and espresso yield.
That’s your espresso recipe for this bag of coffee.
Quick-Reference: Espresso Shot Diagnosis Guide
| What You Taste | What It Means | Likely Cause | Fix |
|---|---|---|---|
| Sour/sharp | Under-extracted | Grind too coarse | Grind finer or extend yield |
| Bitter/ashy | Over-extracted | Grind too fine | Grind coarser or reduce yield |
| Sour AND bitter | Channeling | Uneven puck distribution | Fix distribution and tamp before changing grind |
| Weak/watery | Under-dosed or shot too fast | Too little coffee or grind too coarse | Increase dose or grind finer |
| Harsh/dry | Over-dosed or shot too slow | Too much coffee or grind too fine | Reduce dose or grind coarser |
Puck Prep: Most Dialing In Guides Skip This!
There’s a reason some shots still taste off even when your grind size and dose are spot on. If your coffee puck isn’t prepared evenly, water will find the path of least resistance through the espresso puck rather than flowing through it uniformly.
That’s called channeling, and it causes uneven extraction – shots that taste both sour and bitter at the same time.
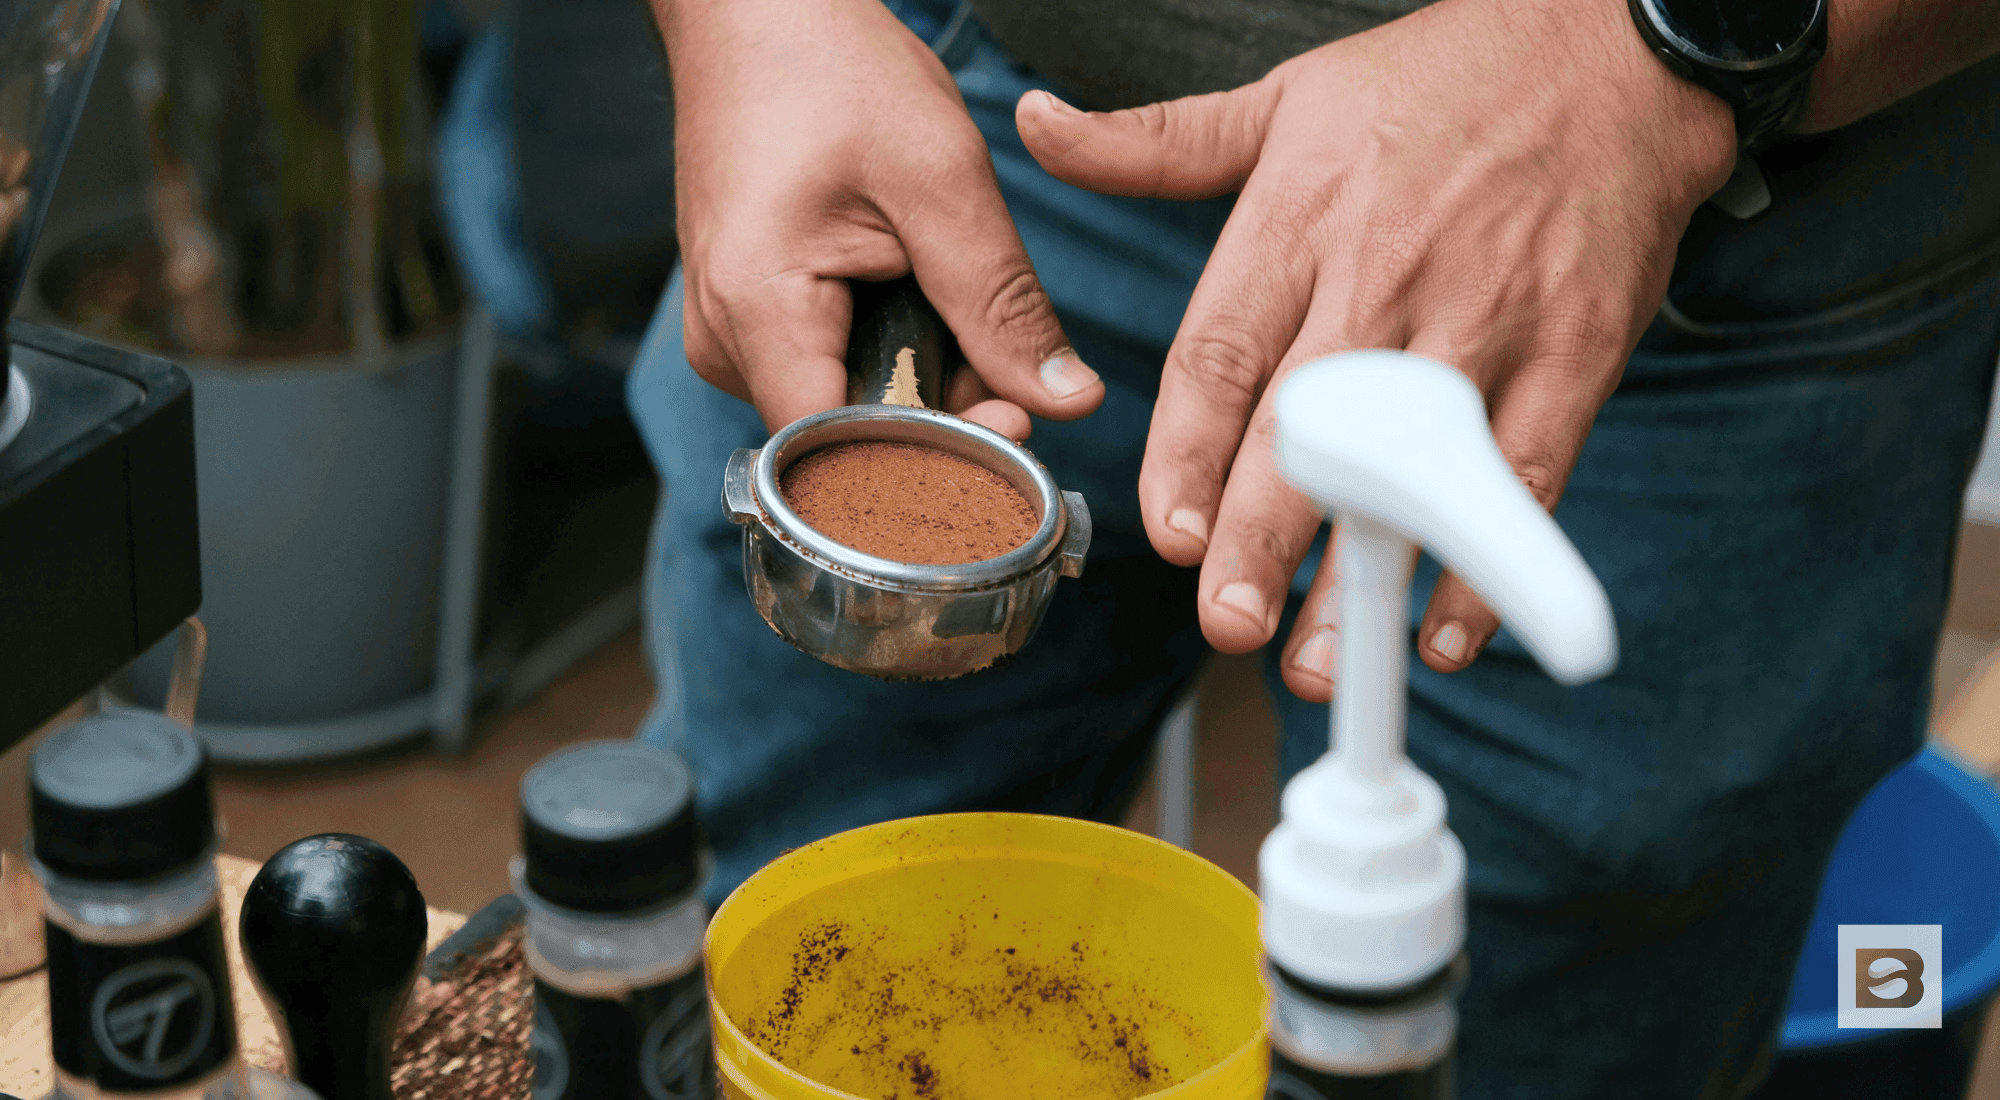
Before you tamp, make sure your ground coffee is level in the portafilter. A simple distribution tool or even a finger swipe works.
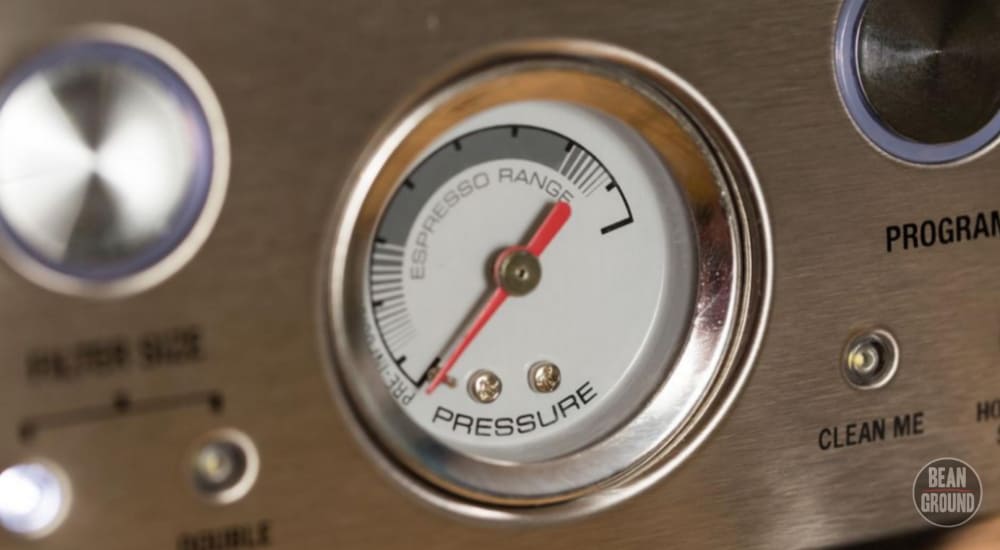
Then tamp straight down with consistent pressure – around 15 to 20kg is plenty. The espresso puck should be flat and even.
If you’re chasing your grind size because your shots keep tasting strange and inconsistent, check your puck prep first. It’s the variable that hides in plain sight.


Dialing In Light Roast Espresso: Why It’s Different
If you’re working with specialty single origins or lighter roasted coffee, expect the dialing in process to take a few more shots than usual.
Light roast espresso is genuinely harder to extract well, and the standard espresso extraction approach needs adjusting.
Light roasts are denser than dark roasts. The beans have lost less mass during roasting, so they’re harder for water to penetrate.
This means you’ll likely need a finer grind than you’re used to, and a higher brew temperature – somewhere between 93°C and 96°C rather than the 91°C that works well for darker espresso blends.
A longer brew ratio often helps too.
Rather than a 1:2, try a 1:2.5 or 1:3 for dialing in light roast espresso. This pulls more of the soluble goodness from the bean and reduces sharpness.
One more thing: light roasted coffee needs more time off-roast before it’s ready to brew as espresso. If the bag is less than a week old, give it more time.
Freshly roasted light roasts produce unpredictable results that make dialing in a nightmare.
When to Re-Dial In Your Espresso
Knowing when to start the dialing in process over is just as important as knowing how to do it. Here are the times you should reset and start fresh.
- Every new bag of coffee. Different beans, different roast levels, and different roast dates all affect how the grind behaves. A new bag of coffee always means a new dial.
- As your beans age. Espresso beans off-gassing CO2 changes the way they extract. As a bag gets older, you’ll often need to grind slightly finer to maintain the same shot time. Make small adjustments every few days.
- After cleaning your grinder. Residual coffee oils and grounds affect grind consistency. After a clean, your espresso grinder setting may need a small adjustment.
- After switching between dark and light roasts. These need meaningfully different grind settings, temperatures, and ratios. Don’t assume your previous dial carries over.
Volcanica Coffee Lover Gift Box
The perfect gift box for the average avid coffee drinker, this gift box includes the best-selling products all in one package. Explore the taste of favorite coffees from around the world from the comfort of home.
Final Thoughts: Every Bag Is a New Dial – That’s the Point
The art of espresso is just tasting, adjusting, and repeating. Coffee enthusiasts often overcomplicate it, but the process of dialing in is really just a conversation between you and the beans.
You don’t need a lot of espresso knowledge to get great results. You need a decent grinder, a scale, and the willingness to taste every shot you pull – not just drink it.
The difference between an average shot and a perfect shot often comes down to a single grind adjustment.
Every coffee bean is different. Every shot tells you something. Once you learn to listen, dialing in becomes less of a chore and more of a habit – the kind that pays off every morning.